• Home
  • Work
  • blog
  • About
Menu

Stacey Lanning

  • Home
  • Work
  • blog
  • About
yogurt-granola-breakfast-6

oh, breakfast.

April 3, 2014

Oh, breakfast. How many times have you heard others declare breakfast as the most important meal of the day? I think we've all heard it a time or two. And even though I know that eating a healthy, balanced breakfast can start my day off right, I struggle to make it happen. I wouldn't call myself a morning person but I really do LOVE mornings. On the rare occasion that I get to bed early enough to wake up with the sun, I remember how much I enjoy the crisp quietness that mornings bring. When I wake early, I feel like I've gotten a head start on the day. I have time to think, appreciate nature and enjoy a cup of coffee (a serious staple in my morning routine).

My ideal morning would be waking up with the sun, drinking a cup of my favorite local coffee (brewed at home) and creating or reading something inspirational. As you may notice, my ideal morning does not include breakfast. Well, not until 10 am, hours after I've polished off my bowl-sized mug of coffee.

In an effort to set myself up for success and eat breakfast more days than not, I've compiled a list of what works for me.

1 | Choose a breakfast combo that you're excited about. If you pick something delicious, then you're more likely to eat it! Hopefully, this isn't a hot cinnamon roll every morning but if it is, add fruit. I won't judge. I promise.

2 |  Make it easy to grab and go. If that means prepping food in tupperware the night before, do it. If it's easier to grab instant oatmeal and an apple, roll with it. Odds are, whatever you bring from the house will be healthier than what you'll find on the run. For me, it's easier if I can eat breakfast before leaving the house, but schedules don't always work out that way. For obvious reasons, it's easier to whip up a smoothie on a hot summer morning while at home, rather than on the go. I have been known to take smoothies into the office but they can be messy to transport.

3 | Start with a breakfast size that works for you. If a banana is all you need, that's OK. Start there. Perhaps you'll add a spoonful of almond butter to your routine next month?

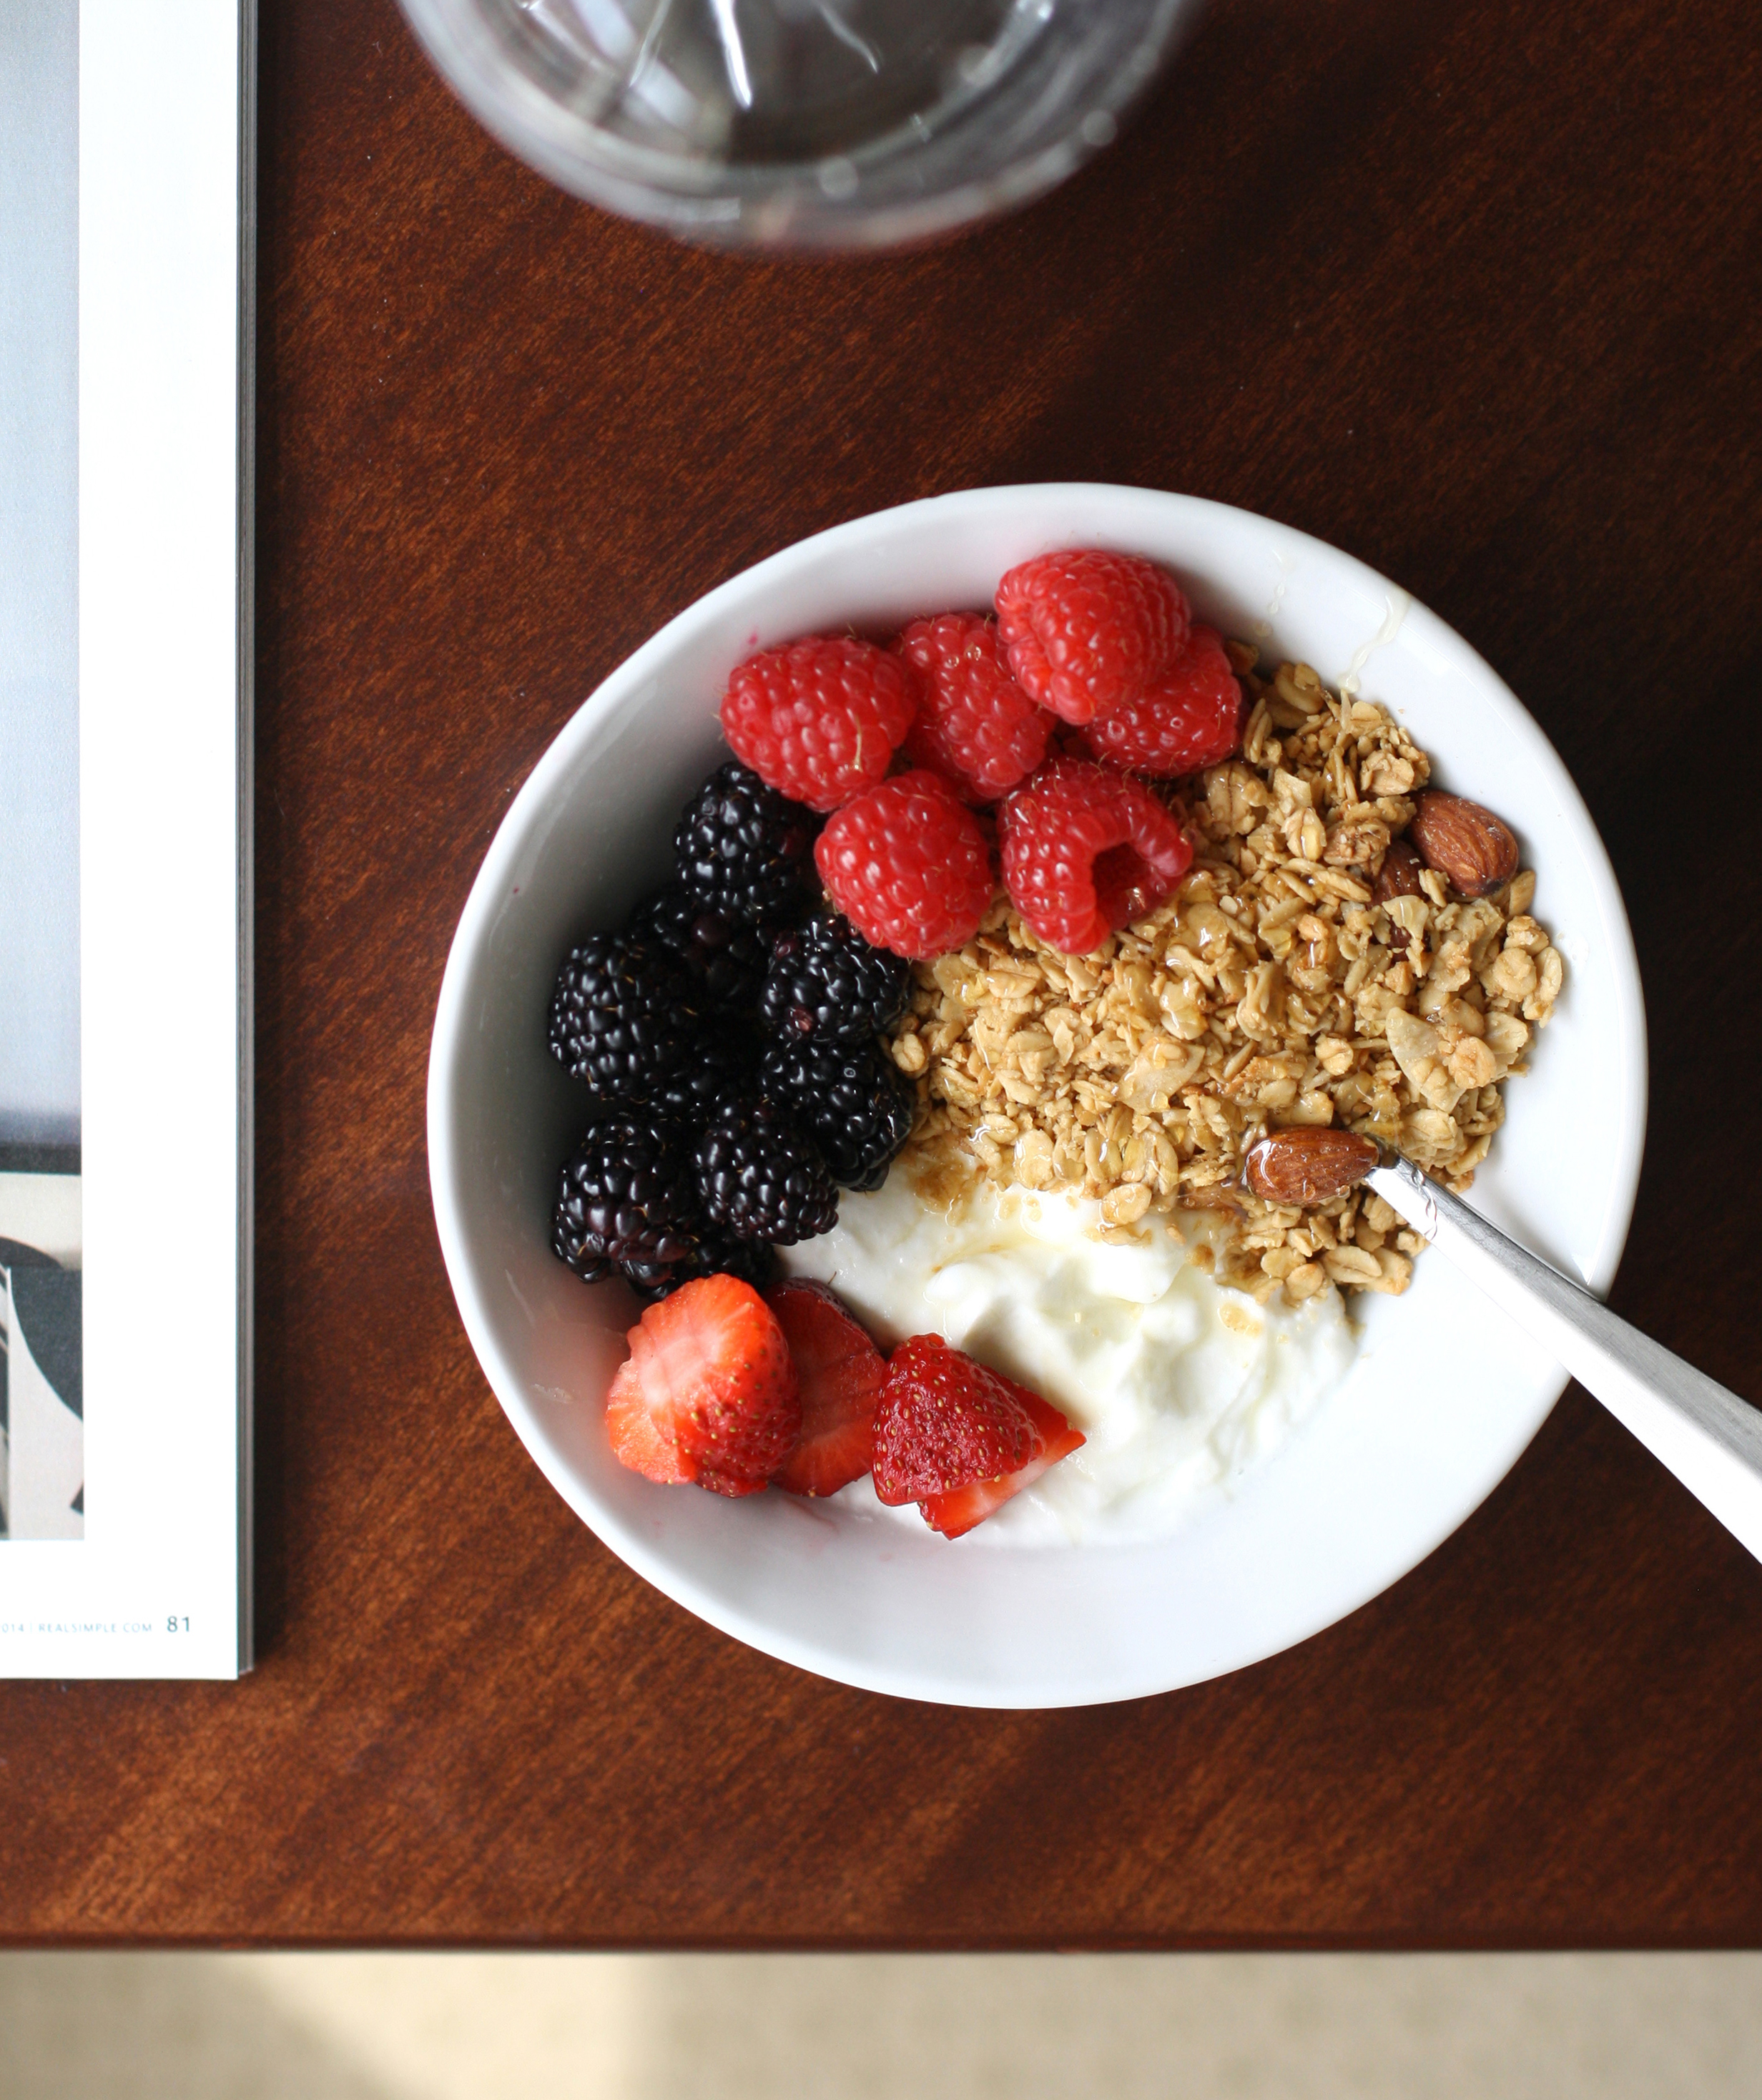
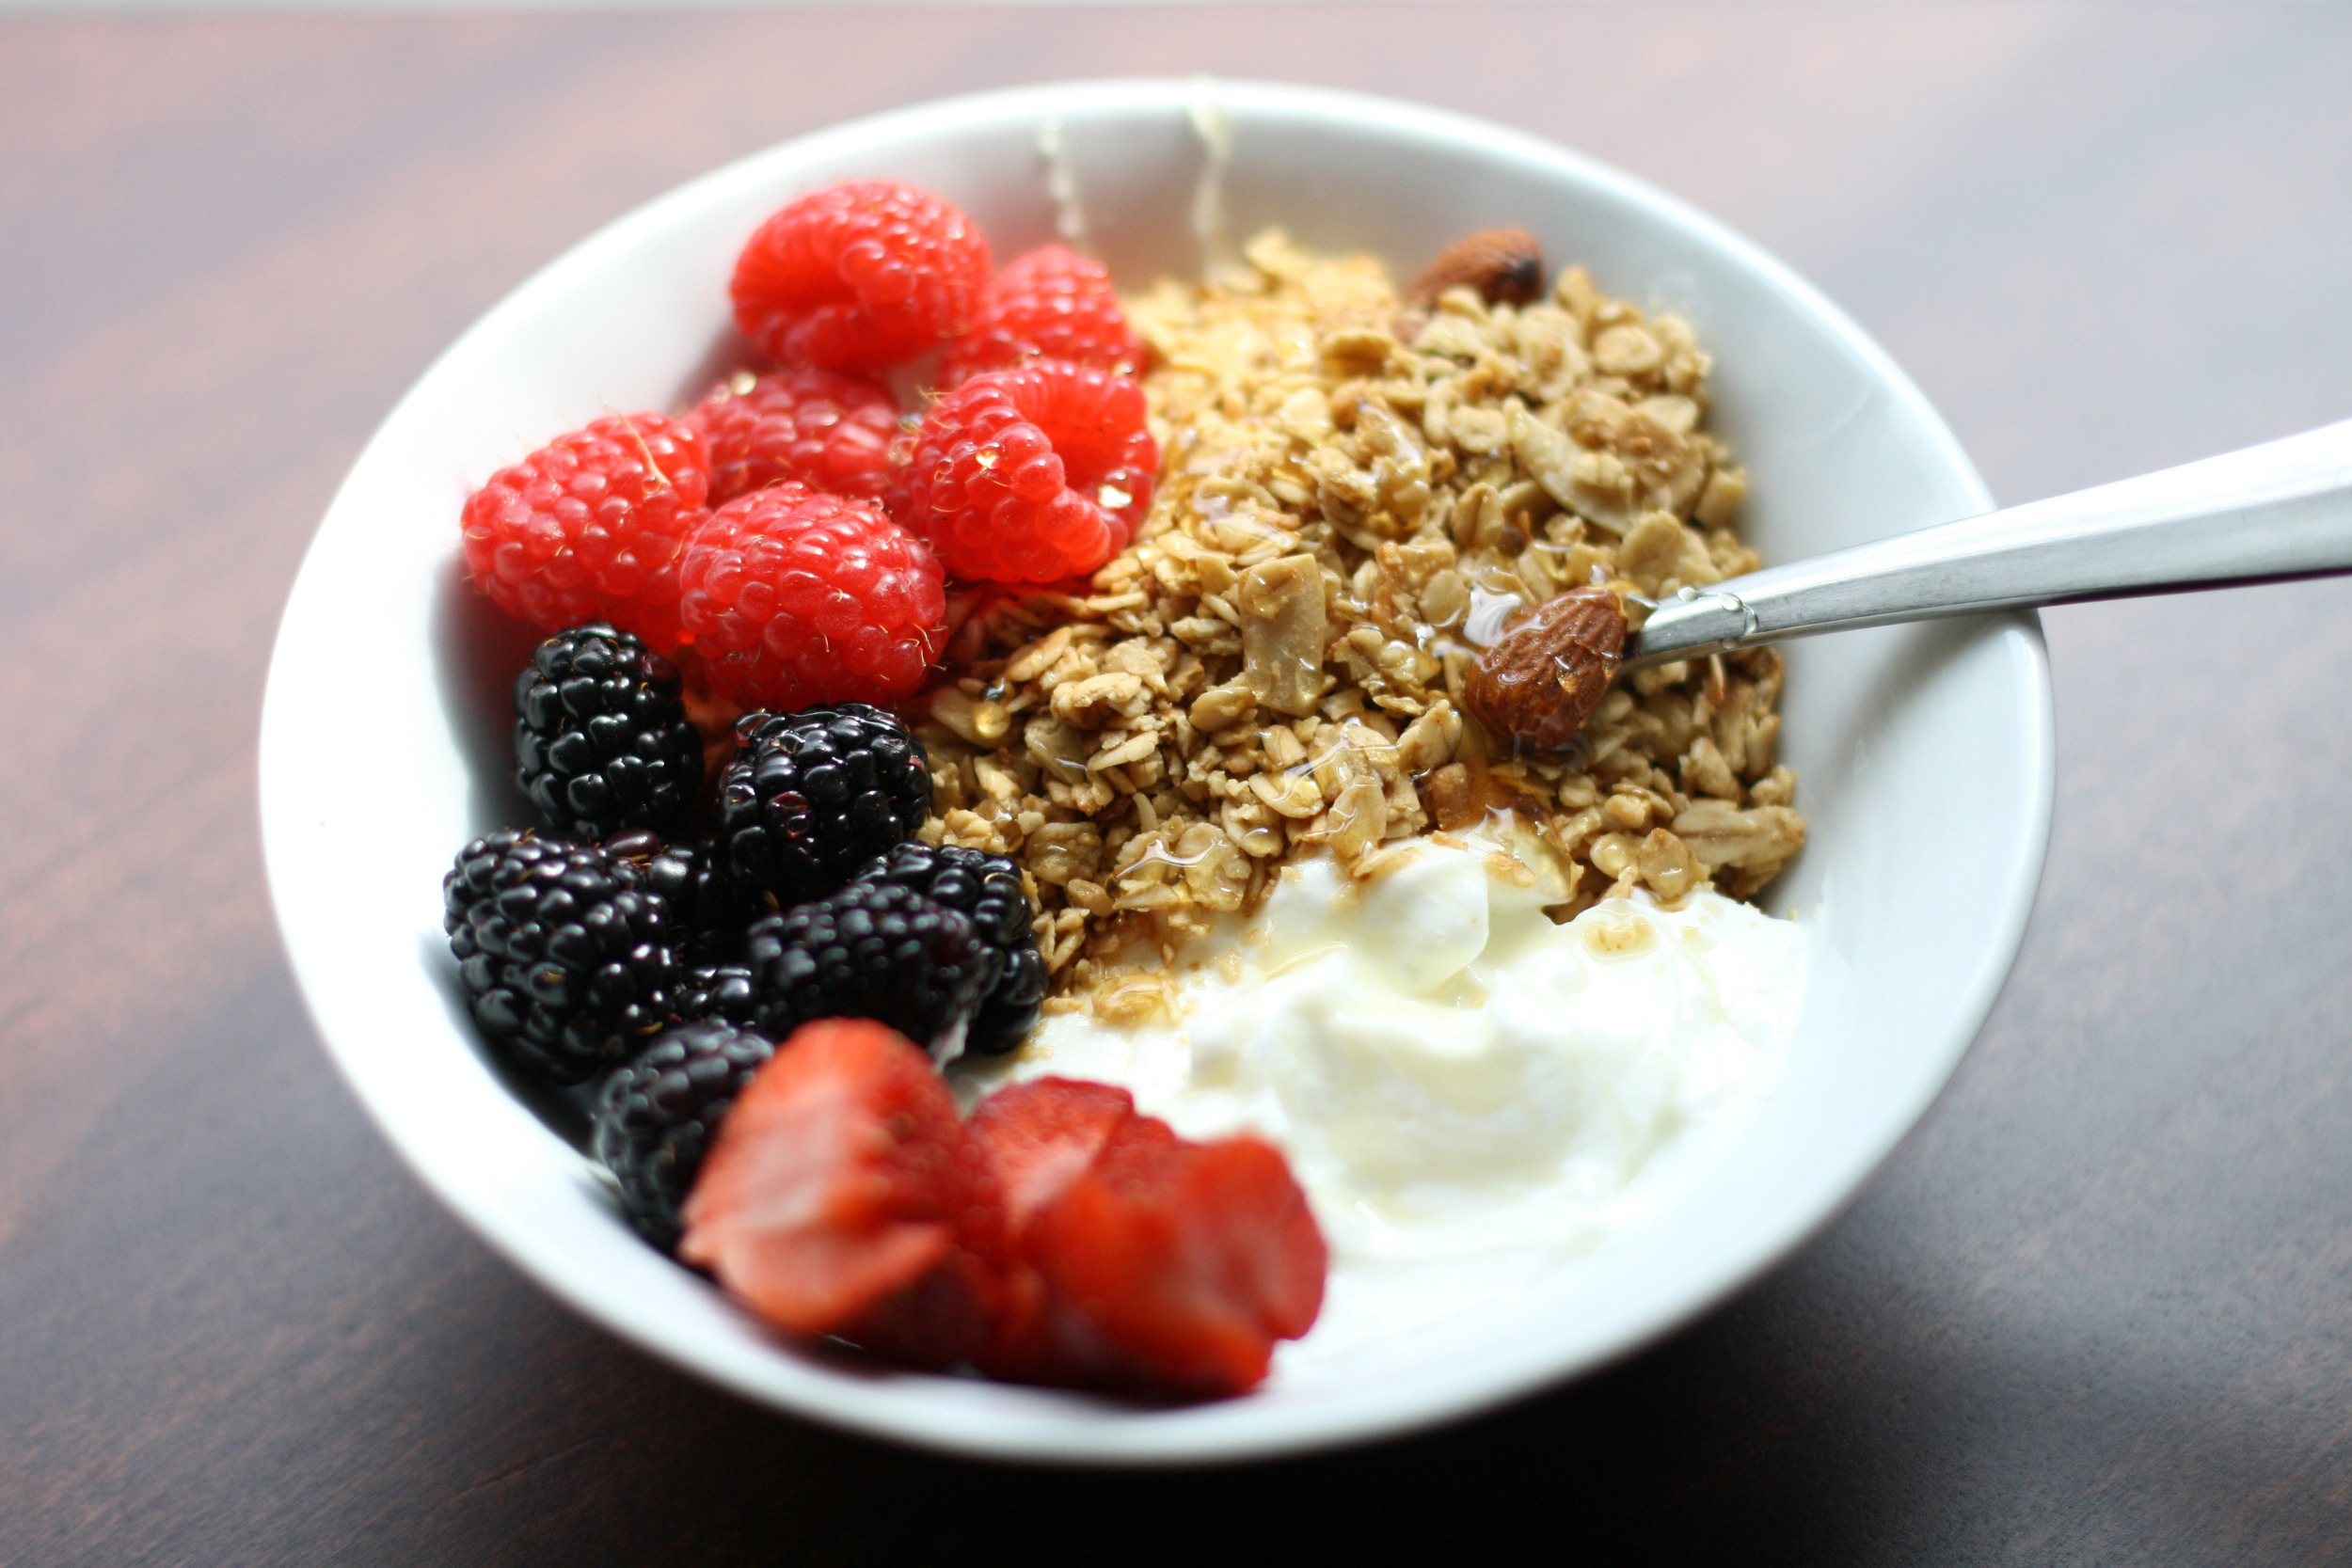
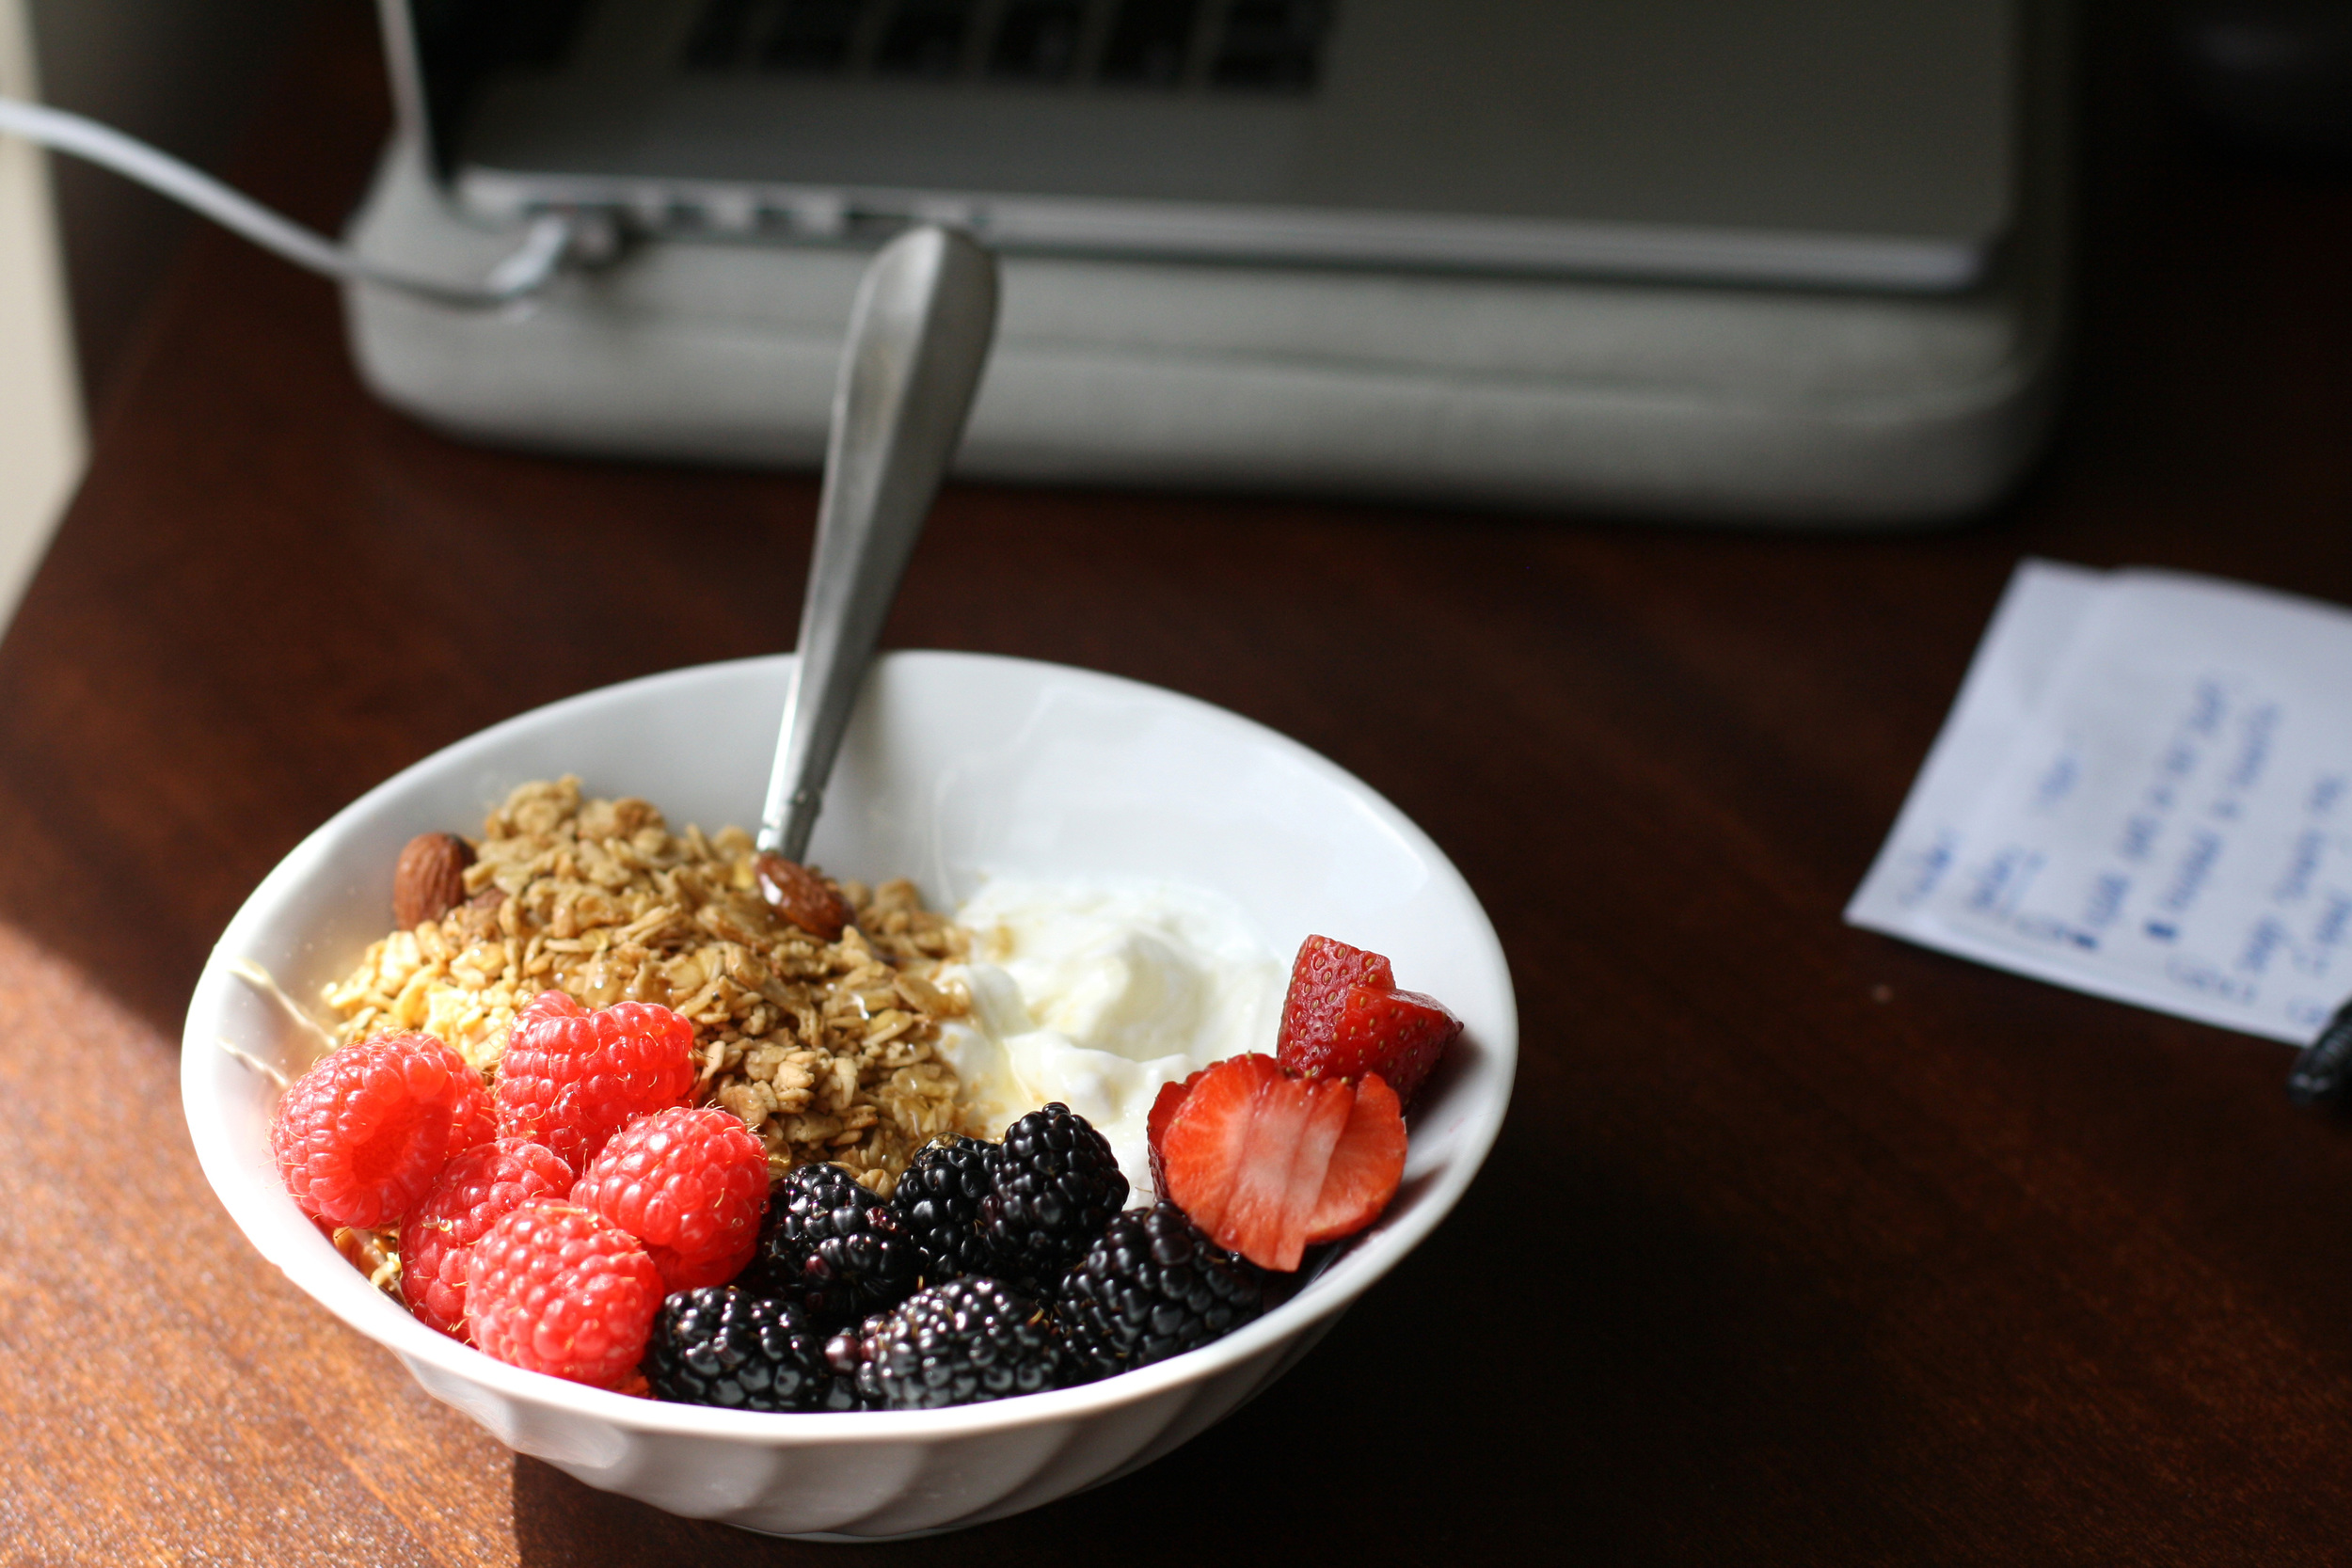
This week I've been digging this little combo - plain greek yogurt, coconut almond granola and fresh berries, topped with my uncle's honey.

yogurt-granola-breakfast-2
yogurt-granola-breakfast-4
yogurt-granola-breakfast-5
yogurt-granola-breakfast-3

Breakfast lovers, what is your favorite go-to combo? Non-breakfast lovers, what works for you?

In eats, photography
Comment
pitango-gelato

on celebrating

March 29, 2014

In three weeks my birthday will be here. It's a big one this year. Some might even say it's big enough to call for a celebration. This topic leads me to the reason for this post. We all speak pretty openly about our desire to celebrate life's big events. Some people believe in celebrating all birthdays, big and small, and others believe in celebrating the mile marker birthdays, happening every five to ten years. I actually think it's important to celebrate every birthday, even if it means enjoying your favorite gelato with a friend or creating your own fun. To me - birthdays, and even anniversaries, are more straight forward. You know they're worth celebrating. It's a little easier to say, "Here's to another year. Cheers to us!" but it can take a little more convincing to celebrate other life events.

When we set goals or have high expectations for achieving an accomplishment, we tell ourselves that we'll celebrate big when we finally achieve IT. I did this very thing when I was studying for all seven of the architectural registration exams, a demanding and grueling process. I incentivized myself by envisioning how great and proud I would feel when I finally passed them all, the party where I'd celebrate with all of my friends and family and all of the things I would go and do when I achieved this lifetime goal of mine. I actually celebrated this win with a fancy dinner out with Ben and I really have enjoyed every weekend since, as I haven't had to wake up early and study all day. I made a point to GO and DO, to get outside and to live large. I never did throw an actual party. Friends and family encouraged me to do so and yet, I reasoned that it would take too much planning, cost too much money and inconvenience too many people. The truth is that everyone I know and love would totally have been on board no matter the "cost" but I discounted the idea because I reasoned that it just wasn't worth it. But it is, worth it!

The lesson here is that it's important to celebrate life, all of it, even if it feels silly at the time.

With that said, this afternoon I'm hoping to follow through with celebratory plans for my birthday. I'm excited. I already picked up the Oh Joy! cake topper at Target. Have you had a chance to see the Oh Joy! for Target collection? If not, be sure to check out her 'garden party' post over at Oh Joy! You'll want to throw a party stat.

In celebrate, instagram
2 Comments
diy-pin-up-board-1

DIY pin up board

March 12, 2014

To be honest, I've wanted to build a custom-sized pin up board for a while now. In fact, I think it's been on my to-do list for over a year. Anything custom can be scary, especially when straightforward DIYs are difficult to find. Believe me, I searched for pin up board tutorials and didn't find much. It could be my google skills but regardless, with a lack of search results, I felt intimidated.

In a world full of pinterest boards, it felt a little unnecessary to be so committed to a real-life pin up board. I mean, is it really necessary to have a board full of tangible paper goods and random inspiration? Well, I think so.

I love building things with my hands. And it's been a while since I had a project where I could get messy. I was craving a reason to work with my hands and this seemed like the perfect opportunity. So like you might expect, I began plotting out my approach and preparing a supply list for my custom-sized pin up board, approximately 48"x 12". The final supply list looked something like this:

  • particle board: 48" x 12"
  • roll of cork (I bought the thickest cork I could find, that would also cover the board in its entirety, without any seams.)
  • can of spray adhesive
  • sharpie marker
  • utility knife
  • (2) - 1/4" L-shaped wood trim pieces, 8' long
  • your saw of choice (It can be small since you only need to cut the trim pieces.)
  • white spray paint
  • liquid nails (I used the clear option but I'm not sure it worked as well as the opaque would have.)
  • old books (These are used to elevate the board and trim above the work plane and to expedite the curing process)
  • photo hanging hardware

I took photos of each step with my "real" camera but when my memory card unexpectedly erased all of my documentation, I was grateful I captured most steps with my iPhone too. Below I'll share the steps I took to make my vision for a physical inspiration board a reality.

01  |  Accompanied by lots of gratitude, ask your home improvement team of choice to cut the particle board to size. Choose board proportions that work for you and your space.

02  |  Apply spray adhesive to the particle board, and then carefully lay the board (sticky side, face down) onto the rolled out cork. Use a generous amount of spray adhesive since cork is extremely porous and don't forget to cover the edges and corners.

03  |  Once the cork and board are safely attached, trace around the particle board with a Sharpie marker to outline the designated trimming zone.

04  |  Trim the cork away from the particle board. I learned that using the utility knife to score the cork in one straight line doesn't work very well. The most effective approach is to try and perforate the cork with the utility knife along the Sharpie line. Eventually, you can score the cork and it will cut away cleanly. (Since the cork is pretty fragile I accidentally tore it in a few places but was able to cover up these imperfections with the wood trim.)

05  |  Cut the L-shaped edging trim to size. (I mitered the corners with a small saw we already own. Since we don't have a mitering saw, this was definitely a trial-and-error process, for me. It involved a lot of measuring and assembling. I wish I could explain this process more clearly, but it's a little difficult to explain, after the fact.) Before moving onto the next step, be sure that the L-shaped trim pieces fit well around the edges of the board and that the corners of the trim match up.

diy-pin-up-board-2
diy-pin-up-board-3

06  |  Spray paint the cork board. Honestly, it would have been more effective to paint the cork with a paint brush. Since the cork is so porous, I almost used an entire bottle of spray paint to achieve a thorough coat of white paint.

07  |  Glue the trim to the cork board with liquid nails. I completed this process outside, but in cooler temperatures the glue took a little longer to cure. In my experience, this process seemed to work better the second time around. I elevated the board and trim above the ground by placing books below them. This way I could easily access all sides and gauge where the glue was really sticking.

diy-pin-up-board-4
diy-pin-up-board-5

08  |  Drill pilot holes into the back of the particle board. Be careful not to drill too deep. You want to avoid penetrating the cork on the front side. Once the holes are drilled, screw in the picturing hanging hardware.

09  |  Finally, it's time to hang the pin up board on the wall.

10  |  Now for the fun part, pin away!

diy-pin-up-board-6
diy-pin-up-board-final

That's it. TaDa!

In diy, goals
3 Comments
valentine-cake-4

valentine cake

February 17, 2014

I like Valentine's Day. I wouldn't say I'm into the conventional sort of valentine gift giving - like a dozen red roses or heart-shaped boxes of chocolate - but I definitely value Valentine's Day as a day that reminds us all to do something thoughtful for someone else.

I have found love so perhaps that's why enjoy what most people consider to be a manufactured holiday. In a lot of ways I agree that it is manufactured. However, I think it's best to embrace Valentine's Day as a day to consciously love all people a little more. In fact, sometimes I think that this "hallmark holiday" is strategically placed at the tail end of winter's darkest days to remind us of light-filled spring days to come.

This year I wanted to bake an angel food cake and decorate it with a banner strung of three dimensional hearts. Originally I envisioned this simple cake stand topped with several layers of pink cake. Inspired by this design, I planned to create a gradient from white to a rich pink hue. Instead of using the more tried-and-true method of food coloring for the gradient, I ventured into uncharted territory and decided to add slightly more strawberry puree to each layer, in hopes that it would turn out exactly as I imagined. Well, as you may suspect, things didn't turn out exactly as I planned as they rarely do on the first try. While the strawberry puree made for a deliciously flavored cake, adding too much of it to the cake mix required longer cooking times and created an interesting consistency. Frustrated with the outcome of my first attempt, I decided to go with plan B, which meant omitting the gradient all together and simply adding strawberries atop two layers of plain angel food cake. Luckily, this approach worked out better and I was able to create the decorative banner on the first try. I suppose now we're both aware of my strengths and weaknesses. As for the cake stand, without time to order the one on my wish list I was able to get this one for no cost using a gift card from our wedding, nearly three years ago.

valentine-cake-1
valentine-cake-2
valentine-cake-3
valentine-cake-7
valentine-cake-8

Fear not, I will attempt the ever-intimidating gradient cake again, next time in a more scientific and predictable way. I'll be sure to share the result with you, for better or worse.

xoxo

In photography
2 Comments
cinnamon rolls

sunday mornings | 01

February 16, 2014

One of my favorite ways to spend Sunday mornings - with hot cinnamon rolls and a fresh cup of coffee. A little bit of House of Cards, Season 2 doesn't hurt either.

Happy weekend to you.

In instagram
Comment
← Newer Posts Older Posts →

Latest & Greatest

Featured
Feb 19, 2016
Practice your language
Feb 19, 2016
Feb 19, 2016
Feb 16, 2016
just one stroke
Feb 16, 2016
Feb 16, 2016
Jan 5, 2015
beyond the paper
Jan 5, 2015
Jan 5, 2015
Nov 9, 2014
Washington DC
Nov 9, 2014
Nov 9, 2014
Nov 4, 2014
bringing the outside in
Nov 4, 2014
Nov 4, 2014
Aug 3, 2014
coconut almond granola
Aug 3, 2014
Aug 3, 2014
Jul 29, 2014
summer greek salad
Jul 29, 2014
Jul 29, 2014
Jul 4, 2014
lamps | before + after
Jul 4, 2014
Jul 4, 2014
Jun 11, 2014
strawberry watermelon basil salad
Jun 11, 2014
Jun 11, 2014
Jun 4, 2014
cobb salad remix + dijon agave vinaigrette
Jun 4, 2014
Jun 4, 2014

a few of my favorites:

for laughs + inspiration


Emily McDowell
Style by Emily Henderson
RowanMade
CreativeOfficesOf


Copyright © 2023 Stacey Lanning |  All Rights Reserved.
Powered by Squarespace